
How it all started...
I had always heard about Linux systems and seen Ubuntu OS while using Linux.
I used to connect to the system through RDP and you get the Linux system connected.
But wait, recently I asked the IT team for a Linux system and they emailed me the machine name and IP. But when I took the RDP of the system nothing happened
I was confused as to why the system rdp was not getting connected. I then confirmed with the IT team if the machine working and they said yes. After struggling to connect I asked them why am I not able to connect to the RDP of the system, and they were like connect the same with Putty you won’t get the RDP.
Now what’s that, I have no idea about it and I hardly know about Linux commands.
Then somehow struggling I connected to the system through the Putty and the system was logged in through a command console.
Connecting to a system without the User Interface I felt it’s going to be a lot of struggle to work on it.
Then I realized that before I proceed further knowing about the basic commands is very important at the first step to proceed further.
In the first step, I realize that Linux has varieties of OS and each type of OS has its own sets of commands.
A Ubuntu system will have a different set of commands than a CentOS have a different set of command.
Linux has different distributions. Debian, RedHat, CenOs, etc.
Bit confusing right? I was in the same line when I first started with all these things.
So to proceed further let’s understand the basic commands of Linux in the first place to get an initial idea about the commands,
Basic Linux Commands that can be a saver for beginners:
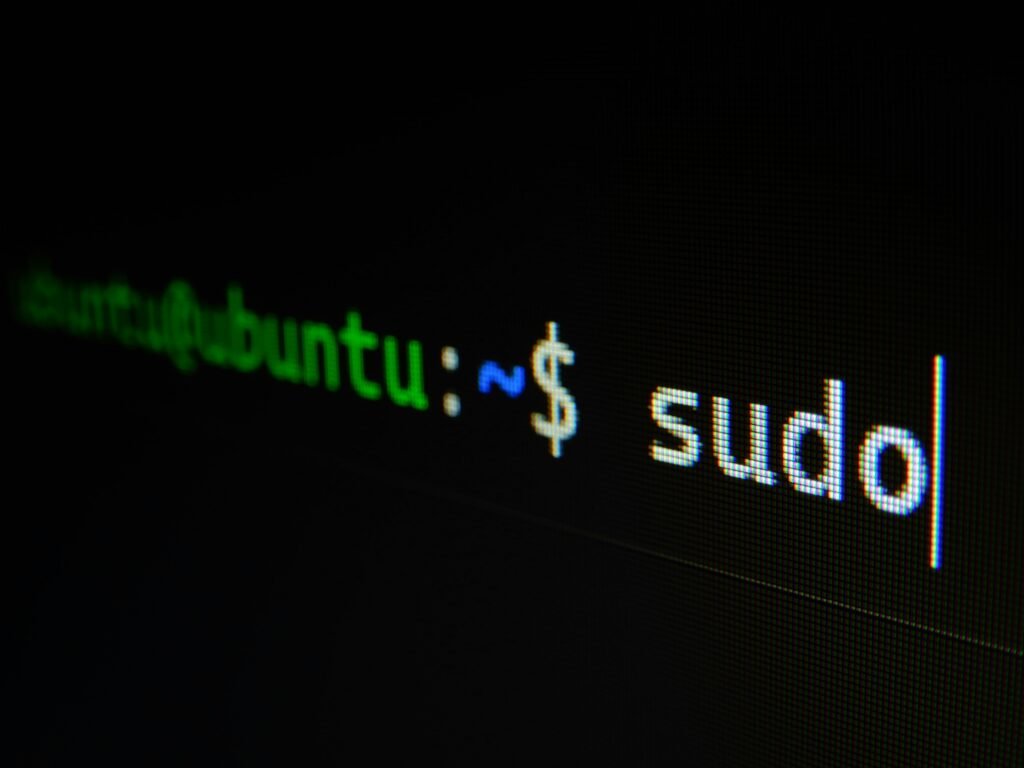
1- sudo su: what? wait a minute the first command when I heard from my friend I realized is he starting a Soduku game on the system using command. But no, it’s a command to enter the console to a super user. Now I felt how tough and at the same time exciting it was going to be learning Linux commands.
Once you type sudo su you need to enter username and password. you provide a superuser privilege to the user.
sudo su
2- ls: helps you list all the directories and files present on the path you are in.
ls
3- cd: helps you navigate through the directory.
cd ..
4-mkdir: Make a folder.
mkdir folder/filename
5-rm: Removes/Deletes a file or folder from the directory.
rm filename.txt
Now as we were done with this command I was eager to know what the disk size they had provided me was and how we checked it.
6-df: This displays the disk information.
df -h (-h parameter is used to make data human readable)
7-tar: Extract or compress files.
tar -cvf filename.tar
8-mov: Move or rename files.
9-clear: clears the terminal.
clear
10-whoami: gets the active user name.
whoami
11-apt, pacman, yum, rpm – Package managers depending on the distribution.
Below are the commands on how to use these package managers on different Linux distributions.
- Debian and Debian-based distros –
apt install <package name> - Arch and Arch-based distros –
pacman -S <package name> - Red Hat and Red Hat-based distros –
yum install <package name> - Fedora and CentOS –
yum install <package>
the above commands are very important I was too confused at the initial stage but yes. These are commands for package managers of different Linux distributions.
Like we have npm commands on Windows after we install node.js, in a similar way these commands are for Linux.
12-cal: shows calendar on the command line.
cal April 2024
13-cp: command to copy-paste in Linux.
14-uname: this command displays OS information of the system.
uname
15-touch: creates an empty file.
touch filename.txt
16-cat: used to display the content of the file.
cat filename.txt
So these commands are the initial one that I started with and the journey is ongoing.
Thanks for reading.